
TryHackMe – Gatekeeper Walkthrough
Introduction
This was an intermediate Windows machine that involved exploiting a stack buffer overflow vulnerability to gain initial access and dumping and decrypting Mozilla Firefox credentials stored on the box to escalate privileges to system.
Enumeration
The first thing to do is to run a TCP Nmap scan against the all ports, using the following flags:
- -p- to scan all ports
- -T4 to increase the number of requests and speed up the scan

The scan has revealed a few open ports, the most unusual one is port 31337, so this is probably the one that needs to be interacted with.
SMB Enumeration
Using SMBClient to list available shares on the host:

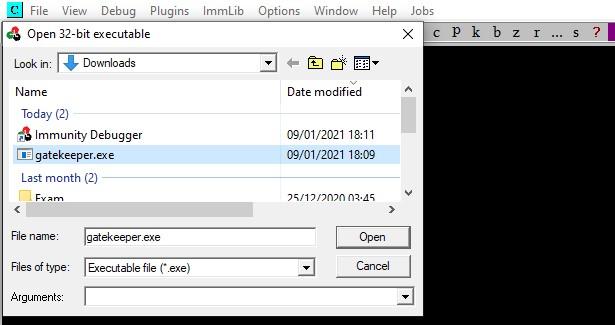
When accessing the share using SMBClient, it appears to contain a gatekeeper.exe file, downloading it locally:


Exploiting Buffer Overflow
Interacting with the service on port 31337 – it looks like it asks for a user input and then it prints it with “hello [input]!!!”

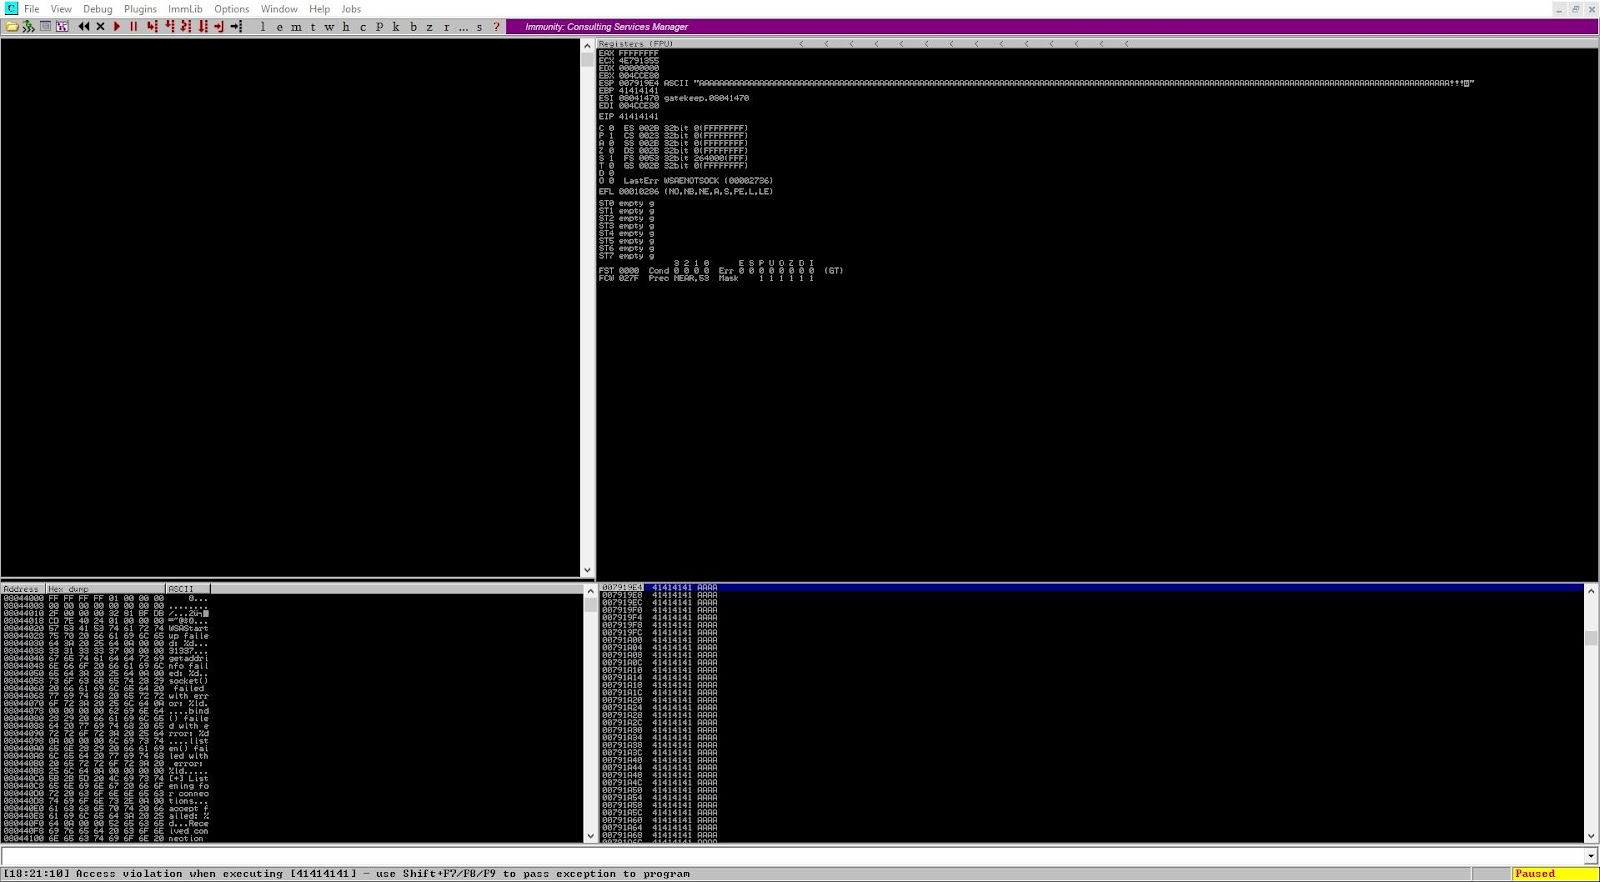
Starting Immunity Debugger, attaching it to the application, and running it:

Generating a 300-byte long string of A characters to test the overflow:

Sending the 300 bytes of data to the service on port 31337:

The application crashed with an access violation error
The next step required is to identify which part of the buffer that is being sent is landing in the EIP register, in order to control the execution flow. Using the msf-pattern_create tool to create a string of 300 bytes.

Adding the pattern to a new script, instead of sending the “A” characters, adding one second of delay between the username and the message as otherwise they were both used as username:

Restarting the application, re-attaching Immunity, and running the script:

Running the script:

The application crashed with an access violation error:

Using Mona to calculate the EIP offset, which is 146:

The purpose of this step is to verify whether there is enough space for the shellcode immediately after EIP, which is what will be executed by the system in order to gain remote access. Adding about 400 C characters to the script for this phase:

Restarting the application, re-attaching Immunity, and running the script:
All the “C” characters that were sent by the script were received and they have successfully overwritten the ESP register. This means an ESP JMP address can be used to redirect the execution to ESP, which will contain the malicious shellcode.


Creating a byte array to test for bad characters:

Creating script to generate list of possible hex characters:

Running the script:

Adding the bad characters to the Python script:

Restarting the application, re-attaching Immunity, and running the script:
After following the ESP register to the memory dump, it looks like all the characters made it into ESP, therefore no bad characters are present, apart from x00 which is always considered a bad character. 01 has also been reported as bad as sometimes the subsequent character is mistakenly reported as bad:

The next step is to find a valid JMP ESP instruction address so that we can redirect the execution of the application to our malicious shellcode.
Restarting the application, re-attaching Immunity, and using !mona modules to find a valid DLL/module – looks like there are tw possible JMP ESP addresses:

Copying the address and searching for it to ensure it is valid:

It looks like it corresponds to a valid JMP ESP instruction address

Changing the script to replace the “B” characters used for the EIP register with the newly found JMP ESP instruction address:

Restarting the application, re-attaching Immunity and adding a breakpoint on the JMP ESP instruction address, then starting the program execution:

Executing the script again:
When the application stops, it lands on the JMP ESP instruction, which is where the breakpoint was added.

The first step of this phase is to generate some shellcode using MSFvenom with the following flags:
- -p to specify the payload type, in this case, the Java reverse shell
- LHOST to specify the localhost IP address to connect to
- LPORT to specify the local port to connect to
- -f to specify the format
- -b to specify the bad characters
- -e to specify the encoder
- -v to specify the name of the variable used for the shellcode

Adding the shellcode to the script, along with 10 NOP slides at the beginning of it to avoid errors during the decoding phase:

The next step is to set up a Netcat listener, which will catch the reverse shell when it is executed by the victim host, using the following flags:
- -l to listen for incoming connections
- -v for verbose output
- -n to skip the DNS lookup
- -p to specify the port to listen on

Restarting the application without the debugger:

Executing script – this returned a shell as the “natbat” user:

Privilege Escalation
While performing enumeration of common files and folders, found out that Mozilla Firefox is installed on the box, so decided to use Metasploit to exctract browser credentials.

Generating Meterpreter shellcode using the following flags:
- -p to specify the payload type, in this case, the Windows Meterpreter Reverse TCP Shell
- LHOST to specify the localhost IP address to connect to
- LPORT to specify the local port to connect to
- -f to specify the format
- -b to specify the bad characters
- -e to specify the encoder
- -v to specify the name of the variable used for the shellcode

Replacing the shellcode in the script:

Starting MSFConsole, selecting the multi handler module, setting and running the exploit:
- payload to specify the payload type, in this case, the Java reverse shell
- LHOST to specify the localhost IP address to connect to
- LPORT to specify the local port to connect to

Executing the script:

This has granted a Meterpreter shell Selecting the post/multi/gather/firefox_creds module to get the Firefox cache files:

Through this GitHub repository, credentials stored by Firefox can be decrypted.

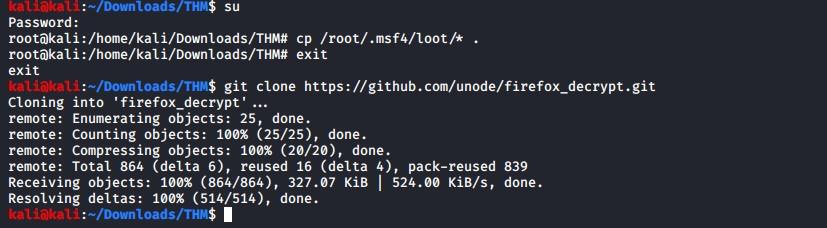
Moving the files downloaded by Metasploit from the loot directory to the current directory and cloning the GitHub repository:
Renaming the files as instructed in the exploit

Using the script to dump the Firefox passwords:

This has found credentials for the “mayor” user. Authenticating through RDP:

It appears this user already has administrator privileges on the system, so no further escalation is required:

Conclusion
This is a really great box when practicing stack buffer overflow, on top of the BOF exploitation it has a really nice privilege escalation vector too.


